
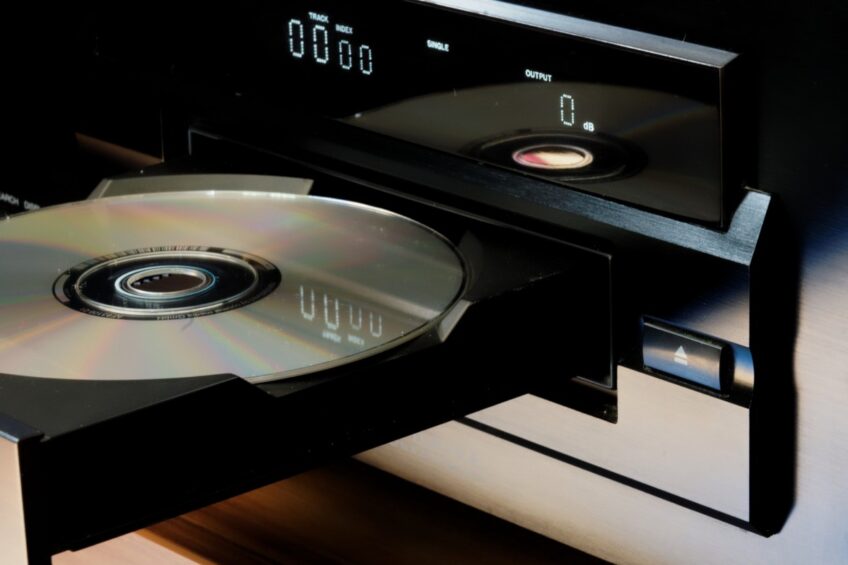
Learning how to clean a CD player does not only help to enhance the durability and the functionality of your CD player but also helps to prevent read errors and poor sound quality. When your CD player starts jumping tracks or skipping around, the chances are that the head lens is dirty.
With the design of most CD players, it is impossible to get to the head lens and clean off the dirt unless you dismantle the entire unit. And since you do not want to throw away that costly CD player and get a new one, or constantly pay a professional to handle the repairs and cleaning processes, you have to find the best way to clean CD player.
Of course, you want to save some cash and cut the cost using a DIY cleaning approach, but how do you clean your CD player without damaging the unit? We know cleaning a CD player requires the right methods and products to avoid further damages. That is why we have created this guide to show you how to clean a CD player effectively and efficiently.
The Materials Needed for Cleaning a CD Player

Various things can be used for cleaning a CD player. However, this article will mention the essential tools that you can use to clean your CD player and avoid damaging it in the process. These include:
- Dust blower (such as the rubber air blower or compressed gas duster)
- Lint-free or Microfiber cloth (you can find this in stores that sell eyeglasses or electronics)
- Cotton swabs
- CD player cleaning kit (like the Manual CD and DVD Cleaning Kit)
- Lens cleaner disc (such as the Allsop diagnostic lens cleaner)
- Highly concentrated Isopropyl alcohol (at least 91% concentration)
- Screwdriver
Note: (CD cleaning kit normally comes with cleaning fluid) use the concentrated Isopropyl alcohol if you have no cleaning fluid. If you have no CD player cleaning kit, you can make use of some items you probably already have in your home.
How To Clean a Multi-Disc CD Player
Step 1 – Clean The Exterior Part of The CD Player
Regular removal of dirt and dust on the exterior part of your CD player helps to prevent dust from gaining entrance into the unit. The accumulation of dust on your multi-disc player will not only make it look unsightly, but it can also be a recipe for early damage to the entire unit. At that, dust can easily gain entrance into the unit, clog up the moving parts, settle on the lens thereby resulting in skipping or disc read errors.
- To clean the player, disconnect it from the power source to avoid the risk of shock.
- Take a clean damp washcloth and wipe the player gently to remove the dust.
- Cover the player with a piece of clean cloth when not in use to prevent the accumulation of dust.
Step 2 – Blow Away The Dust with a Compressed Air or a Handheld Rubber Air Bulb
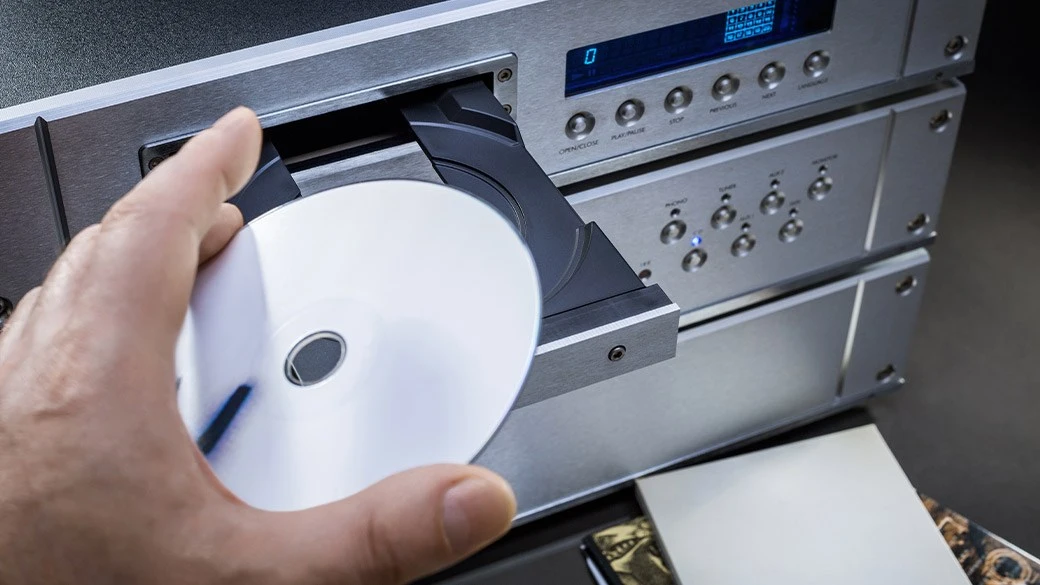
If your multi-disc CD player is tray-loaded, plug in the unit, open the tray, remove the CD if there’s any and disconnect the unit from the power outlet without switching it off. This will leave the tray open; you can now access this spot to clean off the dust.
Take your compressed air can or rubber air bulb and squeeze the bulb or press the knob gentle to blow dust out of the tray. This method is good for areas that cannot be reached with the damp cloth. Note: the use of compressed gas blower is a risky alternative.
Press the knob gently to release the air and check if the spray is completely dry before use. Some compressed air brands spray some amount of liquid along with the air, and this can damage your drive. Clean the tray and its surrounding area with the dampen clean washcloth to remove the grime that does not blow off.
Step 3 – Try Using a Lens Cleaner Disc
If the problem persists, the next thing to do is to clean your CD drive with a lens cleaner disc. Lens cleaner discs work great where more complex repairs that requires taking out the entire unit can be a little tricky and not worth the effort. Lens cleaner comes with brushes that can be effective in removing dust from your CD player as it spins.
You CD player will automatically run the disc the moment you insert it into your drive, but you still have to check the product label and read the necessary instructions and warnings before use. Some cleaner discs are not compatible with some CD players, so you have to check for compatibility before you buy one. However, if you intend to cut the cost, you can DIY a lens cleaner disc for your CD player. See the steps below to learn how to make your own cleaner disc.
Bonus Tips – How To Make Your Own CD Lens Cleaner
You can make your own CD lens cleaner for your DVD or CD player. This option is a little risky and can end up damaging your CD player, but if done properly, you will find it relatively cheaper and just as effective in removing dirt off your CD player head lens.
There are certain items you need to create your own CD lens cleaner successfully, these include:
- Felt material, cotton ball or PEC pads (the type used for cleaning digital camera CMOS sensor)
- Super Glue
- A clean Compact Disc that you don’t mind losing (either burned or crappy audio CD)
Procedure
- Start by cutting a thin strip of the PEC pad or felt material you want to use on the CD to about ¼ inch wide through to the length of the disc.
- Pick up your super glue and draw a very thin line of glue on the recorded side of the CD from its outer edge to the inner. Place the strip or pads on the disc, hold it in place and allow the glue to set. Bend and fold the strip to stick up about a ⅛ -inch high and then cut off excess material. You should now have something that looks like the picture above.
- If you want to use a cotton ball instead, just glue it onto the disc and then pull it out, leaving behind some cotton on the CD (this should work the same).
Step 4 – Take Out The Whole Unit to Reach The Head Lens
Now, you have tried the dust blower and the lens cleaner disc, but they did not fix the problem, it is time to pursue more advanced repairs to clean the lens. Follow the steps below to reach and clean the head lens.
- Disconnect the player from the electricity source and unscrew the outer case. Once you get to the CD tray, gently remove the screw or catches holding the tray with your screwdriver. Note that this will likely void your warranty. Now, you should see the lens (similar in size to the lens of a phone’s camera) at one side of the spindle.
- With a lint-free cleaner (microfiber cloth) or cotton ball, wipe a very little amount of the lens cleaning solution or highly concentrated isopropyl alcohol onto the lens. Rub gently to avoid scratching the lens, continue wiping until it becomes shiny and has a blue tinge.
- Allow the liquid or alcohol to dry before reassembling the unit. While waiting for the cleaning solution to dry off, blow dust out of the interior mechanism using your rubber air bulb.
- Power up the device and try to play a CD to confirm that the cleaning process is successful (the problem should now be fixed). Reassemble the device, and you are good to go.
How To Clean a Car CD Player
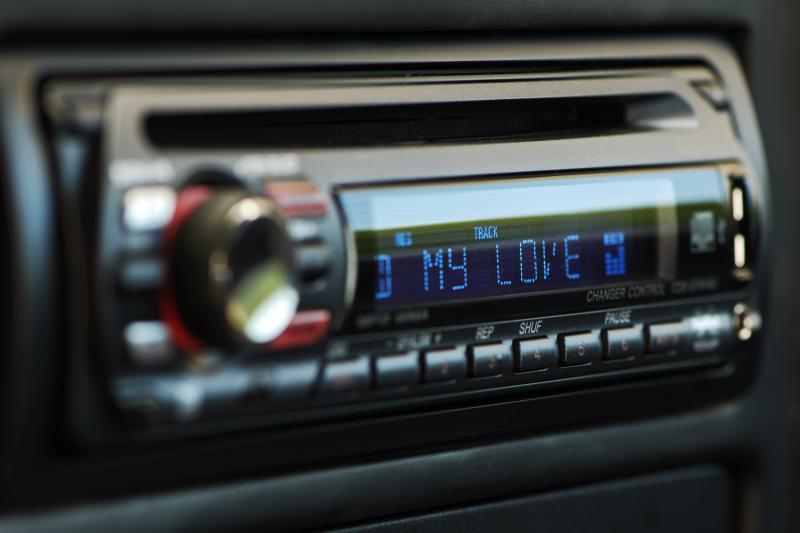
The best way to clean a car CD players by using a lens cleaner disc. This is because removing and taking out the entire unit would be a little tricky and may not worth the effort. Simply sending in a lens cleaner disc would do the trick.
Note: you can use the lens cleaner your purchased or the one you created to clean your car CD player drive.
Procedures
- Blow away the dust from the exterior part of the CD player with the compressed gas can or rubber air bulb. Wipe the player with a clean dampened cloth to remove the dust particles that remain after the blowing activity.
- Power up the device and send in your lens cleaner disc; it should run automatically and eject after rolling in your CD drive for a few seconds. Repeat this process three times. Optionally, you can add a little drop of optical lens cleaner solution or isopropyl alcohol to dampen the brush or pads, and then repeat the process. If you used this option, wait for like an hour to allow the system to dry.
- Now, you can play an audio CD to check if the cleaning process is successful.
How To Clean CD Player Laser
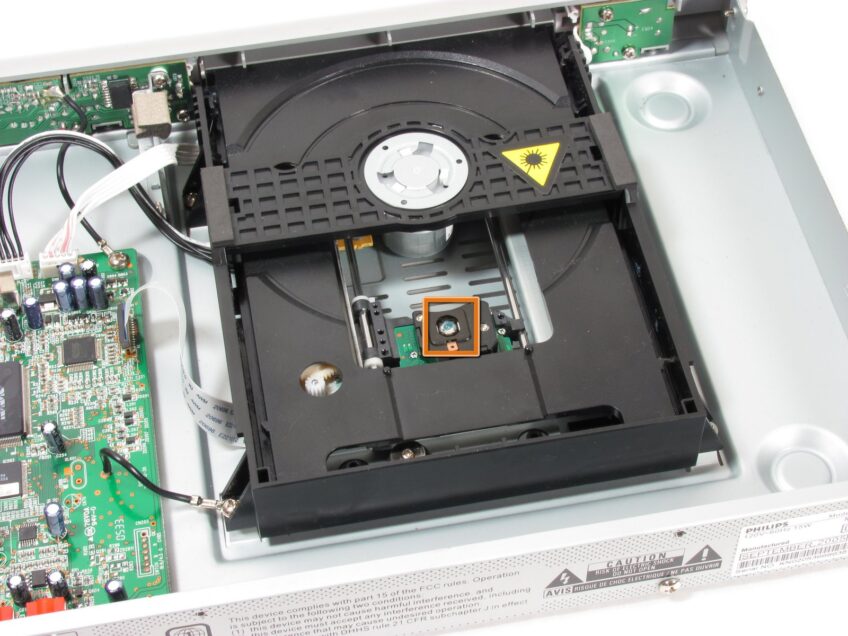
The best way to remove the dirt on a CD player laser is by getting access to the head lens to clean off the dust. However, most CD player comes with a design that makes it impossible for you to get to the head lens without taking out the whole unit. In this case, you will have to open and disassemble the entire unit to reach the lens and clean off the dirt.
This is where your screwdriver comes in handy; you can equally use a knife if you have no screwdriver.
Procedures
- Check to see if there is no CD in your CD drive, and disconnect the unit from the power outlet. Unscrew the player to access its internal mechanism.
- Blow out the dust in the drive and around the lens with a rubber air bulb (blowing around the lens with a compressed gas can be a little risky).
- Grab your lint-free cleaner such as microfiber cloth and wipe the lens cleaning solution gently onto the lens (use isopropyl alcohol of at least 91% concentration if you have no cleaning fluid).
- Continue rubbing the lens until it has a blue tinge and becomes shiny.
- Allow the cleaning solution to dry off (normally, highly concentrate isopropyl alcohol should dry off in seconds).
- Plug in the unit and play a clean audio CD to see if the problem persists.
If the CD player still won’t read or play the disc, disassemble the player even more and check other parts. This can be a little tricky and may require your expertise and the manual for the device.
If you are mechanically minded and patient, you can try the following:
- Turn the CD drive upside down. Do this slowly and observe the lens. Typically, the lens should move up and down with no obstruction or slanting If you discover an improper movement of the lens, you may have to replace it or buy a new CD player.
- If possible, remove the components that surround the lens. Do this carefully to avoid damaging the lens. If you can reach the turning mirror (a small piece of glass present in the optical path of your CD player), clean it just as you cleaned the lens.
- Find the cogwheel attached to your CD player laser mechanism and turn it slowly to observe the moving parts. If it seems sticky or dirty, clean off the dirt with alcohol.
Cleaning tips and caution
- Do not operate the unit in a damp environment. Ensure to wear protective materials to avoid the risk of electric shock.
- Make sure you disconnect your device from the power source while cleaning the unit. Plug it in only when you want to check and track your progress.
- Do not stare into the laser beam; it can damage your eyes.
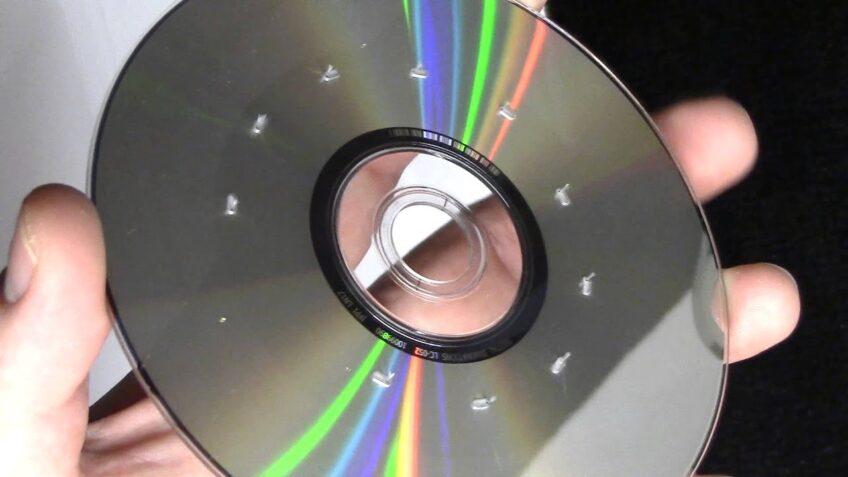
- Play clean CDs only, a dirty or infected CD can cause further damages.
- A dirty disc can be the reason your disc player is sticking or skipping, and you’ll have to clean it before you send it back to your device. You can wipe the CD clean using a clean washcloth with your cleaning fluid or isopropyl alcohol.
When it comes to cleaning a CD or DVD, do not clean it in a circular motion to avoid damaging the data on your CD. Clean from the center of the disc to the edge.
Conclusion
I hope this article has been able to show you how to clean a CD player effectively and efficiently. Now, you don’t have to worry about throwing away your CD player or buying a new one because of the skipping issues, or disc read errors. By following the steps above, you will improve the lifespan and functionality of your CD player without paying a professional for cleaning and repairs.
You can also use these tips at here to clean for your portable cd player. Arm yourself with this guide and you found this post helpful and resourceful, feel free to share.